
Adobe Illustrator is a powerful tool to create some amazing vector based designs. With a myriads of tools, it can become a teeny complicated (actually a lot complicated) to understand all the tools. One of the tools is the Clipping Mask tool which can come handy in making your designs stand out. In today’s guide, we’ll be learning how to use clipping mask in illustrator. You can use the clipping mask took to blend images in the shape of texts, multiple shapes, etc.
Clipping mask is kind of like cropping an image, but in very complicated shapes or paths as the Illustrator sees it. Let’s first see what this tool actually does to the images/vectors.
What does Clipping mask do in Illustrator.
Let’s step in the boots of the Illustrator and try seeing it from its own point of view. When you ask the program to make a clipping mask, you ask to put two objects, one on top of the other. This is where the magic happens. The top layer becomes the vector path or also called the “clipping path.”
The image below the clipping path is only visible though the shape you have made. Anything that is outside this shape is not visible. This give you the ability to make some brilliant design that can fuse multiple shapes or texts over the images. And doing all of this is very easy. It is like you cut a shape on a piece of paper and then put it over an images. You can move this cut-out to show the desired part of the image. Let’s see a step by step guide for using the clipping mask.
How to use the clipping mask in Illustrator.
Before we jump to the steps, there are a few things that you must note so that you get the results right:
- The shape or the text that you choose as the shape will always be on top of the image/object.
- The Clipping path (top layer/cut-out) must always be a vector path and not an image.
- You cannot use two clipping paths to a clipping mask, but there is a way to do it too. We’ll describe that in later part of the article.
- Now that the important points have been made, let’s get into the tutorial.
The Basic use.
Step 1 : Making a Clipping Mask with Shortcut.
We have chosen an image of the Christmas tree as tis the season. First we will see how to use basic shapes with clipping mask. Put the image on the artboard then make the shape you want to use as the clipping path. We will choose a triangle.

Step 2 : Make clipping mask
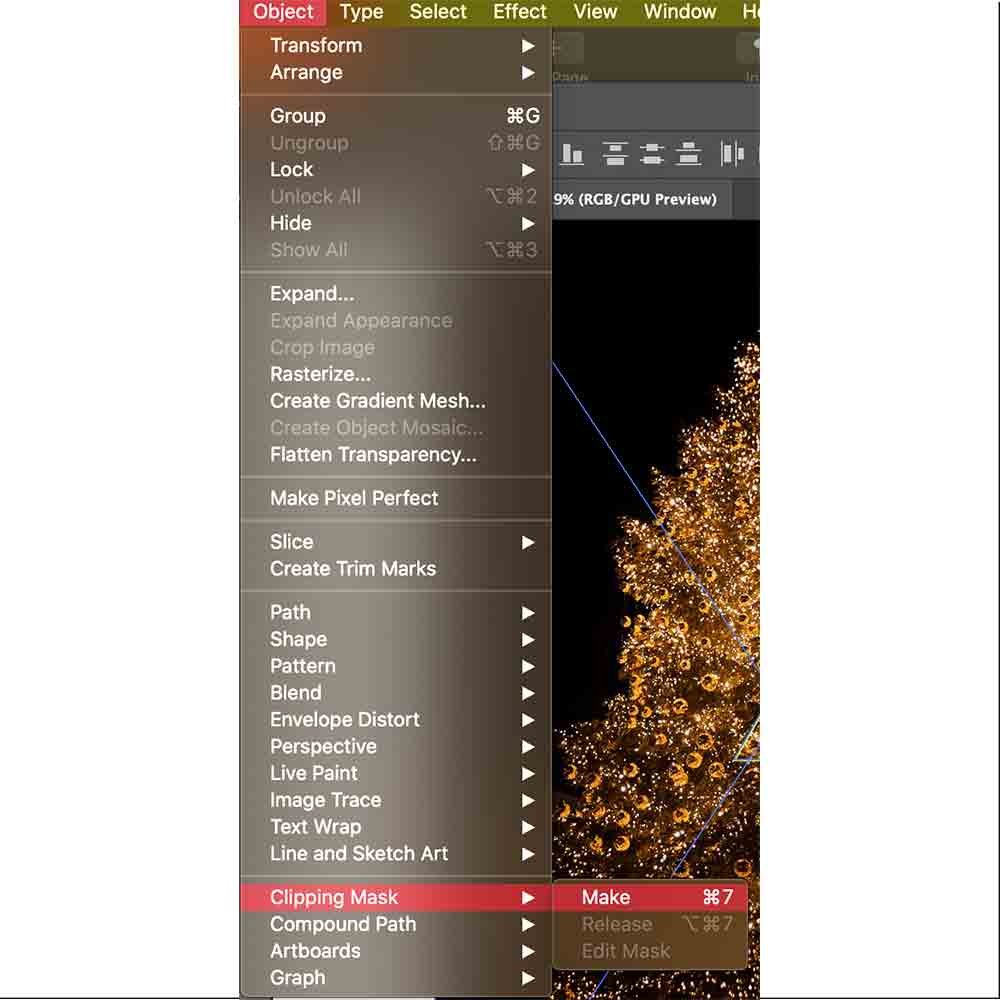
Select both the image as well as the shape (triangle). Make sure the shape is on top of the image. To use the shortcut for making clipping, press command + 7. You can also do it the long way. Select both the objects and then go to Object > Clipping Mask > Make.
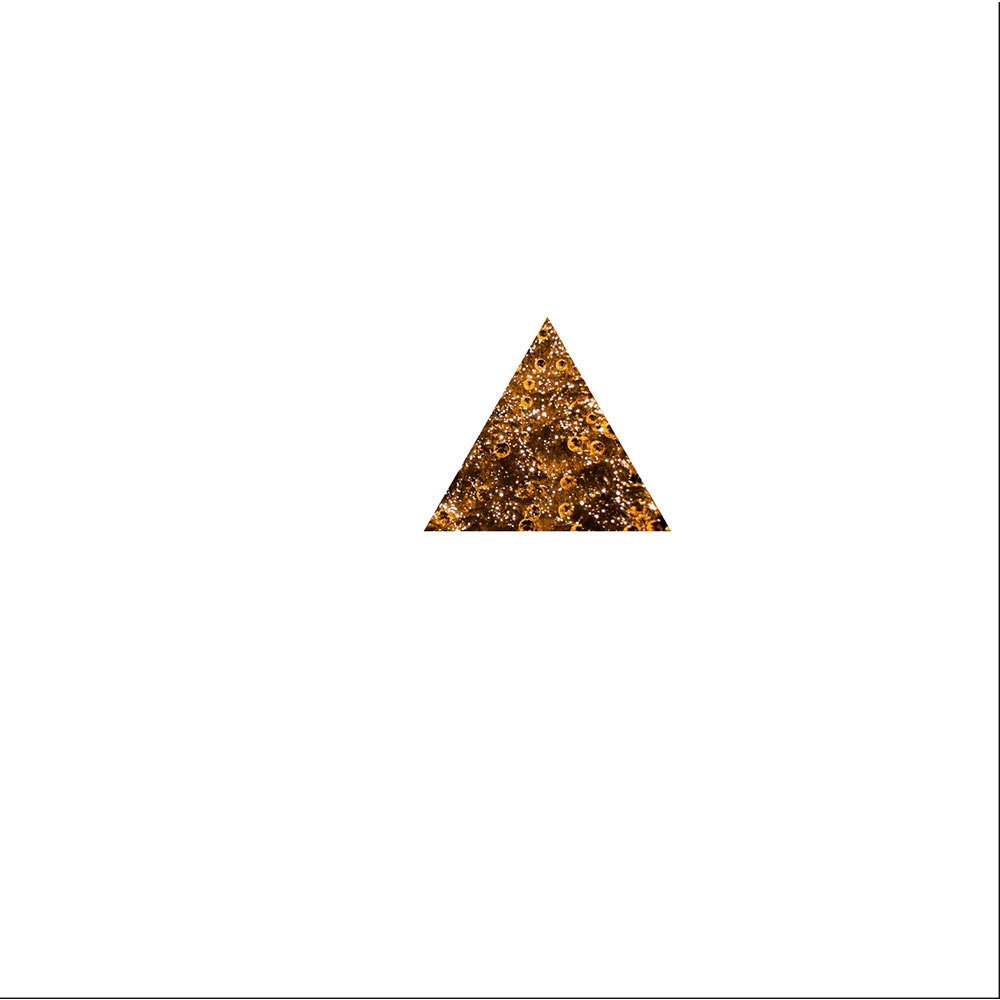
Step 3 : You can now resize the shape according to your liking. Resizing the shape will also resize the clipped image inside. You have your clipping mask ready. Now let’s see how to do it with texts.
Using Clipping mask with Text.
We have changes the base image for this example to make it easier for you to see. Let’s see how to achieve a text shaped clipping mask.
Step 1 : Type the text you want.
You can use any fonts you want, but it is recommend that you use well spaced and bold fonts to get decent amount of image in the shape. We have used Bebas Neue Regular for the demonstration.

Step 2 : Create Outlines
Now here a caveat. You can directly create a clipping mask using the text on the image as explained above. But we recommend creating the text into outlines first. Why? It gives you the liberty to make the text better.
Here is an example of using just plain text and using text after creating the outlines. See for yourself.


Step 3 : Make Compound Path.
After you create outlines, the text will become vector objects. You can ungroup them and edit every single word. The problem with this is that Illustrator now sees your text as random vector lines and cannot use it to create clipping mask. So to tell Illustrator that your text is one single complex vector, you have to make a compound path.

Just select the text and then go to Object > Compound Path > Make. You have the text ready to be used as a clipping path. You can also use the shortcut for compound path. It’s Command + 8.
Step 4 : Create Clipping Mask.
After you are done with compound path, just place the text over the image. Adjust the size of the text to the portion of the image you want to mask. Press Command + 7 or Object > Clipping Mask > Make. You have the clipping mask ready.
How to Use Two Clipping Path?
If you follow the aforementioned steps and try to make two clipping paths i.e., two shapes or two different texts, things won’t work out. Using two different shapes or texts confuses the program and it takes only one shape as the clipping path. As shown in the image, only one clipping path is made. How to solve that? It’s very simple.


Step 1 – Place both the text or shape wherever you want to make the mask. Then, for texts, you have to convert them to outlines.
Step 2 – Select both the text and then convert them into compound path. You can do that by going to Object > Compound Path > Make or just press Command + 8.
Reason – Since there are two paths, Illustrator chooses only one to make the clipping mask. When you convert that into compound path, both the text and/or the shapes become one complicated shape. You can make many shapes and join them by using compound path to make clipping masks.

Moving the Image underneath the clipping mask.
Suppose you create the clipping mask on the wrong portion of the image and want to change what you want to be visible. Don’t worry, you don’t need to redo everything. There is an easy way to move the image underneath the clipping mask so that you can show the desired part of the image. Instead of going through the complicated layers panel options, we’ll show you a quick and easy way. Here it is.
Step 1 – Select the clipping mask that you just made to select it and then right click to show the options.

Step 2 – Choose the Isolate selected clipping mask option.
Finally, Step 3 – Now when you move the clipping mask, the image below will change too, allowing you the “window” to show the desired part of the image. Once you are satisfied with the result, right click and choose Exit isolation mode. That’s it, easy peasy.

Articles related to Adobe Illustrator Tutorial:
- How to use texture in Illustrator to add noise and detail
- A typography trick in Adobe Illustrator can make your texts stand out
Clipping mask shortcuts
To make the workflow smooth, you must practice using the shortcuts for these processes. As mentioned before in the article, there are shortcuts for almost all the functions illustrator has, including a shortcut for clipping mask. We have included shortcuts for the commands you’ll need to execute. Here are they.
- Clipping Mask – Command + 7
- Compound Path – Command + 8
- Square shape – M
- Circle shape – L
- Type Tool – T
That was all about the clipping mask and how to use it. We hope the article was helpful and you understood the functions of this feature of Adobe Illustrator. Now go ahead and unleash your creativity by making great designs.